Are you looking to host a virtual art show this school year but don’t know how to do it online?
This school year, many art teachers are finding themselves in a precarious situation.
The annual art show they typically prep for all year has been cancelled due to the global pandemic.
It’s heartbreaking for both teachers and students knowing how much work has been put into the planning. But all hope is not lost.
I’d like to share with you some thoughts on how to host a virtual art show.
It’s a great way to promote the importance of the Arts and celebrate your students accomplishments!
Quick Links
- How to Host a Virtual Art Show
- Promoting the Event
- Prepping a Virtual Art Show
- Collaborative Art Projects
- Hosting Your Online Art Exhibit
- The Night of the Art Show
- Virtual Art Show Templates
How to Host a Virtual Art Show
First, I’d like to address the elephant in the room. An online art exhibition is never going to be as rich of an experience as an in-person event. The concept of art stations and the communal spirit is not the same when done digitally.
And the level of engagement is not going to be there for you to see and enjoy. I know you look forward to the excitement of students showing off their hard work with their family. That will still happen with a virtual event. You just won’t be able to see most of that part.
The flip side is there’s no need to make 153,873,842 masking tape donuts or long nights of matting and labeling artwork!
And hopefully no requests from parents to help locate their child’s artwork amongst thousands. Hopefully.
Promoting the Event
- Pick a date. The first thing is to decide on a date for your grand opening. Keep in mind that because it’s a virtual event, there will be an opening night but not necessarily an end time (unless you decide to take it down).
- Get everyone pumped up! Next, let students, parents, administrators, and school board members know that a special event is coming. Create a “save the date” graphic that you can post all over your school’s social media accounts (Twitter, Facebook, and Instagram). You want to reach as many people as possible.
- Be flexible. I recommend giving yourself some leeway in terms of timing so you don’t corner yourself. Putting together a digital art exhibition requires a different skill set. You might need more time than you’ve planned for if you’re apprehensive about technology. Therefore, I recommend not sending out a save the date until you have at least half of your event prepped.
- Shout it out! If your school uses the Honeywell, consider arranging a broadcast call to all families to let them know something special is coming. You might even tie in your art show theme into your message for added fun! If your theme is, “In the Wilds of the Art Room,” your message could say something like, “Be on the lookout for some wild and crazy artwork coming your way soon!” Just peek their excitement without saying exactly what’s in store. Who doesn’t love a surprise?
- Remind. One reminder for an event is not always enough. Consider putting out 2 – 3 messages in various ways to reach people. Your first message might be a broadcast phone call or a post on Facebook. The second could be your save the date graphic. And the third could be something like, “It’s almost here!”
Prepping a Virtual Art Show
The next thing to ponder is the student artwork.
- Do you constantly take pictures to post on your school’s Instagram account? You might have a decent amount of images to work from. It’s possible you still have limited building access and can arrange for an hour of time when nearly no one else is there – stay safe! – to snap more. If so, take an assessment of what you already have.
- But maybe you don’t have pictures of finished pieces of art. And you can’t get into your building. What then? Search through your phone for any work-in-progress pictures you might have taken during lessons. These could be a good substitute for a portion of your art show! Is it ideal? No. But it’s definitely authentic and it shows children working like artists (think: studio habits of mind). They will still evoke conversation and educate parents, admins, and school board members about your art program.
- “But what do I do if I have no pictures at all?” Hope is not lost! Plan a handful of easy art home art lessons and have students submit them via Google Classroom or even email. Will the quality be the same as what you do in your art room? Likely not, although some submissions may really surprise you. As I stated in my distance learning blog post, art teachers are used to creating with restrictions. And some students are, too.
One small note: Refer to your school district’s policy on showing faces in photos. Seek permission in advance before moving forward. I recommend blocking or blurring out faces. More on that later.
Collaborative Art Projects
Normally art teachers do some kind of collaborative piece with one whole grade level or even the entire school. There’s always a lot of prep work involved in this. In the case of distance learning, this is rather tricky, but not impossible. The key to a successful collaboration art project is quick and simple.
Assign your students a basic drawing of a flower (or some other easily drawn image). Have them create it on square-shaped paper. Size won’t matter. Assign each grade level one color in the rainbow. So only kindergarten can use tints and shades of red to design theirs. First grade can only use orange. Second grade only yellow, and so on.
Once you have all the submissions, import all the pictures into a program like PowerPoint or Google Slides. Resize and arrange the images from left to right to create a rainbow of flowers!

Hosting Your Online Art Exhibit
So you’ve gathered some art and marketed your event. Now it’s time to put it together!
There are many avenues you could take for getting your event up online. I’d like to summarize some of the solutions I hear teachers are turning to. Some are popular and others you should avoid like the plague.
Padlet
Padlet is an online bulletin board program that lets people collaborate by displaying links, videos, music, text, and pictures. It’s been around for a long time. It used to be called, “Wallwisher.” Once you create a padlet, it can be embedded into a blog post or shared via a share link. Students don’t need an account to view it. But they do need one if they’re going to be a part of your art show curation. And there are many “how to” videos on how to use Padlet if you search YouTube.
The downside to using Padlet – and I think there are several – is that you are only allowed to create 3 padlets for a total of 10MB each. I can’t imagine getting one artwork for each student posted to a padlet under the 10MB benchmark if I had, say, 500 students in my roster. Throw in the idea of including two images per child and that’s just never going to happen. You can pay for an upgrade of unlimited padlets and more file space, but it’s a monthly fee.
One aspect that’s interesting about it is that you can allow comments to be made on the photos. However, I also find this to be a downside because there will always be bad actors who leave not so nice comments. In addition, moderating comments can be time-consuming.
The other issue is more personal, but I find the look of it quite generic. This might be perfectly fine for secondary teachers. But as a lifelong elementary art teacher? I need a more creative canvas to work from. And I just don’t find myself in love with Padlet for the idea of a virtual art show.

WordPress, WIX, and Other Site Builders
Short version: don’t do it. Skip ahead. 😉
I’ve been a longtime WordPress user. I’ve been using it for 20 years (did I just date myself there? haha). The Glitter Meets Glue website is WordPress! And I love it. It’s a platform I’m super familiar with.
And for those that don’t know, there is WordPress.com and WordPress.org. They’re not the same thing. The former is a free website builder that is hosted by and controlled by WordPress. The later is a self-hosted website in which you’d have it buy your own domain to host your website. Hope I didn’t lose you there with all of that.
That being said, I do not recommend teachers, who have no coding and website experience, to be messing with it. Yes, you will have more control over what you create, but it’s way too much work for the effort. There are better solutions for a virtual art show than this.
Instagram and Facebook
Some art teachers are turning to Instagram to host their art exhibit. Many, like myself, already have an account that they use for their school. They document art projects and teacher life on there. It’s a format they’re used to so it checks off the familiarity box.
But in all honesty, the thought of trying to host an art show from my smartphone would just tire me out. I think my fingertips would get tired of henpecking to label every artwork I posted there. In addition, it’s not a closed circuit. So anyone can leave a comment on a picture you posted there. You’d have to heavily monitor the comments for spammers, too.
Repeat all that I said about dealing with comments from strangers if posting direct to Facebook. The platform works based on engagement. If you post stories to your school’s FB page, people get alerted to the post because it’s, well, engaging. This also attracts the spammers with fake accounts. Take my word for it, you don’t want that.

Short version: don’t do it. Skip ahead!
I’ve heard some teachers suggest using Pinterest to curate their show. I get that it’s very familiar to most of you. You can make a board and post pictures and text easily. But if you’re posting to a personal account, I don’t think you want to invite parents and students to see all the crazy hairdo styles and kitchen gadgets you’ve been pinning. Right?
Also, Pinterest is riddled with spammers who steal photos and redirect them to nefarious spam sites. It’s an issue the platform has been plagued with for a few years now. Ask me how I know. UGH.
Google Slides
I think Google Slides provides a nice balance of familiarity, accessibility, shareability, and user-friendliness. I feel like it’s the best option because you’re designing from a blank canvas.
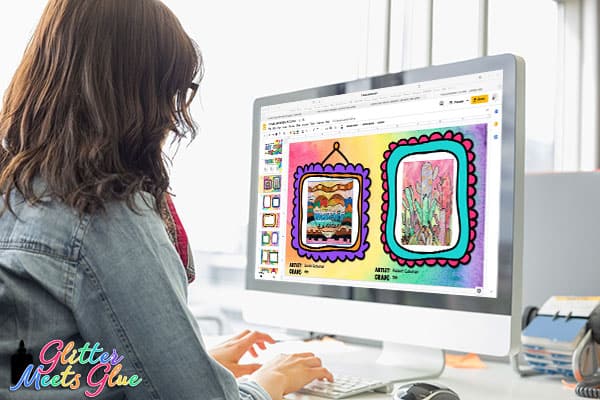
- Curate your art show to include graphics that best reflect your theme. Adding text and graphics is simple, too. It’s exactly like working in PowerPoint. It has many of the same features – and a few others like talk to text – that you don’t have to touch if you don’t want to.
- You can also block out student faces if sharing work-in-progress shots by overlapping an emoji graphic on a child’s face.
- Another great feature with Google Slides is that everything is automatically saved. Raise your hand if you’ve ever been working in PowerPoint, forgot to save, and the whole thing shutdown on you. YEP. Worst. Feeling. EVER.
- In addition, your slideshow is saved in Google Drive which you likely already have. So there’s no need to sign up for another website and memorize another password. You’re given 15GB of storage in your account which is plenty fine.
- Sharing it out with parents, students, administrators, and school board members easy. When you’re finished designing your presentation, go to FILE >> PUBLISH TO WEB. If you’re publishing to Facebook, use the LINK option. If you’re putting it on your school website, use the EMBED option. Reach out to your school’s tech person with the embed code and they can publish it for you.
- You can even save your slideshow as a movie with Screencastify!
The Night of the Art Show
Just like an in-person event, getting parents involved in your virtual art show is a must! Have them help make it a real event by arranging for some special snacks and beverages for their kids.
Suggest to kids that they select some music to play while viewing the event. Pump it up!
And don’t forget the pre-party. Kids can make photo booth props by writing “I love art!” and “Art Rocks!” on scrap paper. Staple or tape it to a straw and they’ve got a prop to snap a picture of and share on social media (with parental permission).
Virtual Art Show Templates
Are you exhausted in hearing about all the ins and outs of how to host a virtual art show?
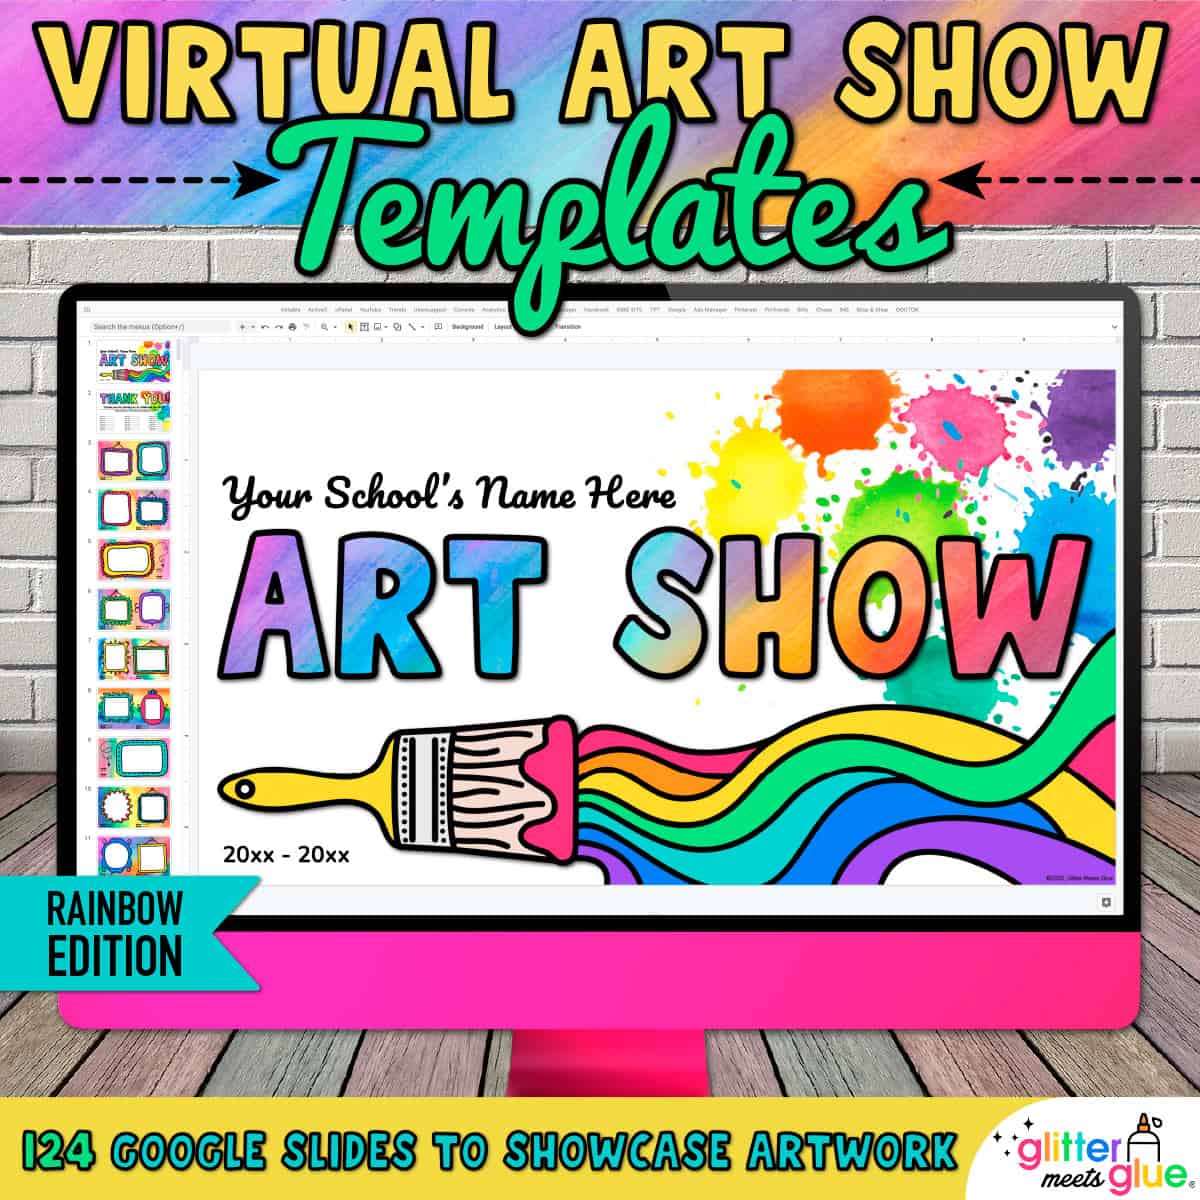
To speed things up for you, I’ve made some very elementary art teacher friendly templates for you. They’re designed with watercolor images I handprinted here in my art studio.
I also digitally designed the wacky clipart you see throughout. It was a labor of love. But I imagined myself in your shoes and thought, “How would I go about putting together a virtual art show in a way that would honor my students and families?”
There are 124 slides included that can house 192 pieces of art. I’ve also included a 3-page PDF that explains some of the basics with adding images and text to a Google Slide document. And you can copy all the slides. So your art gallery will have endless spaces to “hang” the art!
I’ve designed the slide deck. All you need to do it drop in the art and label the images! Click on through to see a preview.



Thank you! We are a little city in the heart of the Willamette Valley, Oregon.
Our Spring Community Art Show is going to need to be virtual in partnership with the Monmouth Public Library.
Google slides is a great suggestion!
Our school usually has an art show in February. This has been a parent led Project. We want to do another one this year but due to Covid… we are thinking about an online art show. I know there are several students who would Like to show their work. K-5 grades. Volunteer only.
This is totally new territory for me. Would students send me a iPhoto of their work and then I can upload them into the template ….. is it that easy ? Google slides sounds pretty cool.
Hey Nikki, it’s so incredibly easy. You can have students send you pictures of their work in whatever way is the easiest for you. Think about what you’re currently using to receive artwork from them. Are they emailing you? Uploading it to an LMS like Google Classroom, Canvas, Teams, etc? However they’re doing that now, they can send you the images along with the title of their artwork. To get them into slides, it’s as easy as dragging and dropping them into the template from your device. I kid you not. So easy!
This resource of the virtual art show was great. Students loved seeing their work, administration was impressed, and the templates saved so much time, leaving me only to have to add personal touches, and cut and paste artwork from Artsonia. Thanks so much!
You’re very welcome! I’m so glad it was an overall success for you and your students. That’s awesome! If you purchased from my website, you can leave feedback on the product page to get a few credits added to your account for any purchase made in the future. I call them “glitter bucks.” Also, any purchases you make you get credits, too. So two ways to earn credits. 😉
I really appreciate this blog post and your template! We are working through how/if we (900 person public elementary school) can host a virtual art show, and finding your templates and all this info has been immensely helpful! Thank you so much!!
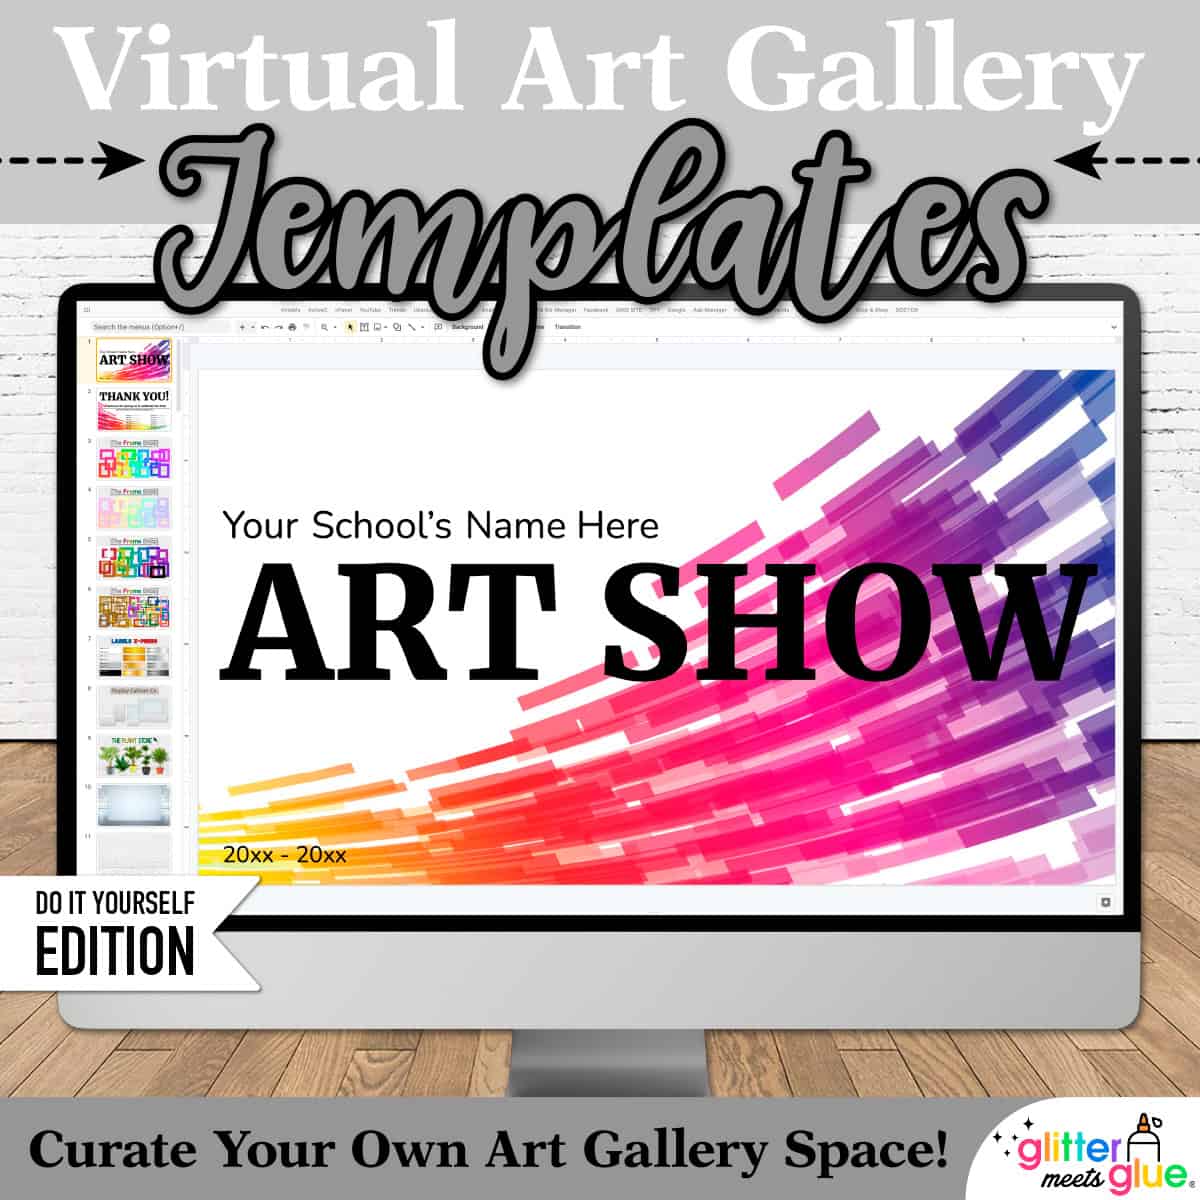
You’re very welcome Mara! Yeah, so at my height I had 950 students and this is a solution I would have used in all honesty. I have two templates. The one in this post is for elementary and is more basic than the other which is designed for secondary. Each has pros and cons. If you have 900 students you are likely trying to juggle a lot of student artworks. You might consider using the template in this blog post instead of the secondary version (https://glittermeetsglue.comproduct/virtual-art-gallery-templates/). That one has more moving parts (literally) and would take longer. The upside to it is that it has more leeway in terms of the overall look because you can swap out mats and frames. It just really depends on the time structure you have in place. Need it in a week? Go for the primary art show templates.
I nearly forgot: at the top of my page, there’s a link to my free art resource library. If you sign up, you’ll see I made a free save the date that matches the art show templates in this blog post. 😉 Shhhh, TELL EVERYONE. 😉