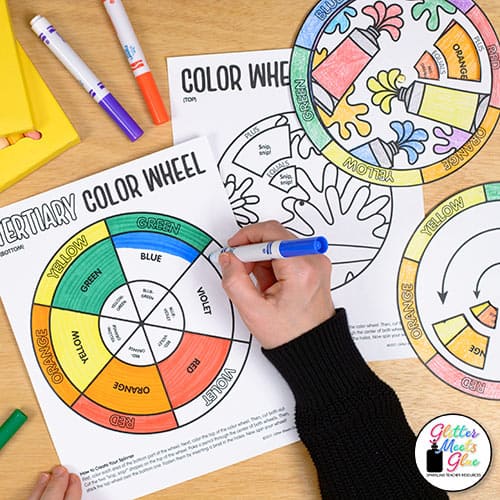
One of my favorite elements of art to teach students is color. When I pull out the color wheel for art class, my students instantly know a painting project is on the horizon.
And suddenly I have attentive eyes!
Because what kid doesn’t want to swish and swirl paint colors together to see what they make?
But first, there is always a lesson about color theory that involves the wheel.
Spiraling Into Color
I teach a spiral curriculum. Each year they build upon the learning from the previous year as a reinforcer. I do this with all of the elements of art. Here’s a snapshot of what that looks like for the element of color.
Kindergarten
My kinders learn about primary colors. My first goal for them is to remember all three primary color buddies. Once we’ve established that they’re all great friends, we talk about what happens when they hang out together. Sometimes they mix! And red and blue become violet.
We make Pop Art style gum ball machines or Mondrian collages. Then we delve into projects that are all about how each of the three sets of primaries mix together.
The projects vary but each is about color mixing in some way. Sometimes we’re using paint. Other times we’re creating with tissue paper and glue-y water. Or even just marker painting with old markers.
First Grade
My first graders review the secondary color wheel and mixing. I want them to use the terms “primary” and “secondary” easily. We start out with a color wheel worksheet where we use “sleeping crayons” (crayon rubbings) to figure out how secondaries are made.
Next, we create watercolor popsicles that illustrate how all three secondary colors are made. We finish off the unit by creating a primary color wheel for art to reinforce everything. The spinner has all the colors already listed to help them along.
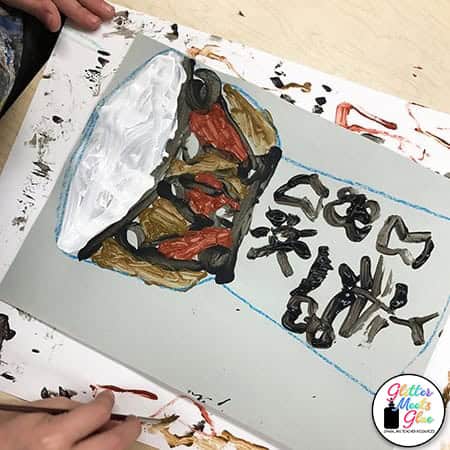
Then, we learn about light and dark colors and design Paul Cezanne inspired still-life drawings. I show them how to rub the black pastel on the tip of their finger and smudge it into the paper and then add color of the fruit on top of that.
We finish off by pushing hard with a white pastel to make highlights.
We also discuss those colors that are not on the wheel, the neutrals. They’re the “neu” (new) kids on the block. They weren’t around when the wheel was developed but are hanging outside of it in the shadows.
Lastly, we design a Wild Things collage with neutral colors and visual textures. Some years it’s been an African djembe drum instead.
Second Grade
In second grade we review color mixing. Students create a secondary color wheel spinner but with a twist: the wheel is mostly empty.
I’m looking to see if they know what happens when red and blue mix. We learn “art math.” I give them the formula P+P=S and they plug in the colors.
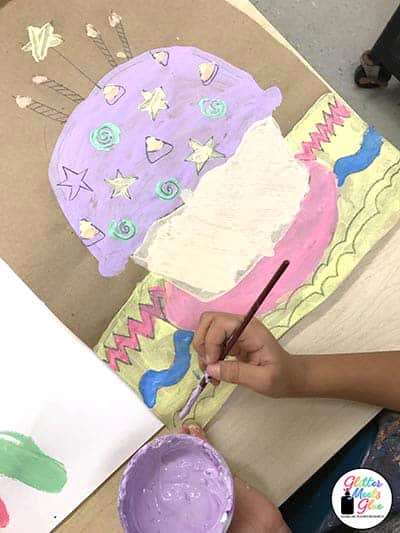
Then we create Wayne Thiebaud cupcakes. Some years I do this as an individual project and sometimes as a group project. They get to mix and swirl the paint like icing on a cupcake. Delish!
To round off our learning of color, we study the art and culture of Mali and their beautiful mud cloth designs.
Some years we’ve studied African cultures and created weavings using neutral colors. Kids love weaving once they get the hang of it. It’s a great crowd pleaser.
My goal here is to get my students to understand that neutrals are not on the color wheel. And honestly? To like them. Neutrals can be so beautiful! Not all browns and grays are the same.
Third Grade
Moving up into third grade, each student creates a tertiary color wheel for art. They get an already labeled copy of it because we’ve not yet discussed tertiaries.
I once again bring out the “art math” with a new formula: P+S=T. We talk about how the “P” and the “S” have to be neighbors so that when they say, “PST!” to each other they can hear one another. Otherwise the conversation gets all muddy (and make neutrals).
They have to create a tint and a shade of each of the six rainbow colors and place them on the outer edge of the wheel where the color labels are located.
We also create a watercolor chart using our “art math” formulas to document them. Then we create a soft pastel drawing of some overlapping pipes using tints and shades.
I show them how to smudge black on first and then overlap the pipe color on top in that very same way they learned to create realistic looking fruit in first grade.
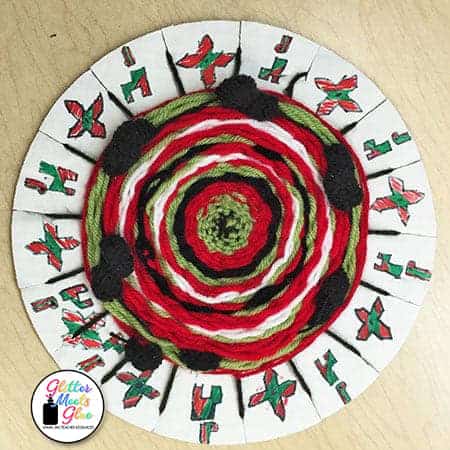
To demonstrate an understanding of complementary colors, we design circle weavings. This is my third graders favorite project of the year. They start out riding the struggle bus trying to get the under-over-under-over concept on the circle correct. And then they quickly progress to Indy 500 status. By the end of it, they’re zoom, zoom, zooming to the finish line in excitement!
Fourth Grade
My fourth graders are given a blank tertiary color wheel for art and have to paint it in. I start them out on the path and they quickly take over remembering all their “art math.”
I have them color in the title of each of the six rainbow colors using a complementary color, since we learned that in third grade. So for the “YELLOW” section, they would color the word, “YELLOW” in violet and the background behind it would be yellow.
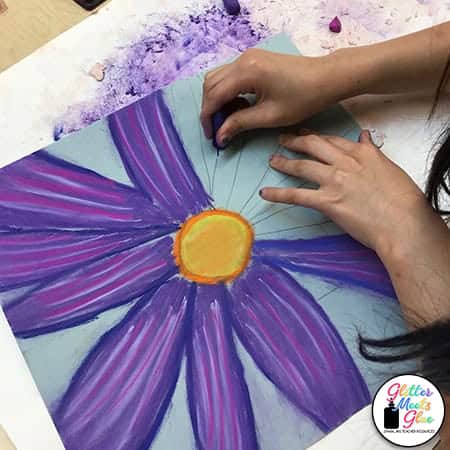
Then we study Georgia O’Keeffe and draw the most beautiful soft pastel flowers ever. Seriously, these come out so great every year! They use the tints, shades, and tertiaries to make them pop.
We pick up our learning of neutrals again in fourth grade when we create a chart of what happens when complementary colors mix. Minds? BLOWN.
Then we use our knowledge to make Aboriginal inspired paintings using tints, shades, and tones of a hue. They really start to see how sophisticated color mixing can be and that they have many more options than originally expected.
Fifth Grade
By the time my students make it to fifth grade, the focus is less on the element of color and more on learning about some phase of art history. However, I do give them the color wheel for art and have them use a more advanced method of filling in the unlabeled wheel.
Depending on whatever project proceeded the color theory lesson, they will either collage the wheel or use creative line and marks to fill in the areas. Markers are best for this.
Their creativity really shines here. Some students create the whole wheel with one kind of line, say swirls, while other use contrast with different types of lines adding variety to their work.
Color Wheel for Art
I hope this synopsis helps you understand how I use the color wheel to spiral my curriculum in art.
What makes it easy for me to implement consistent, spiraling instruction like this are art resources that are familiar to students from year to year.
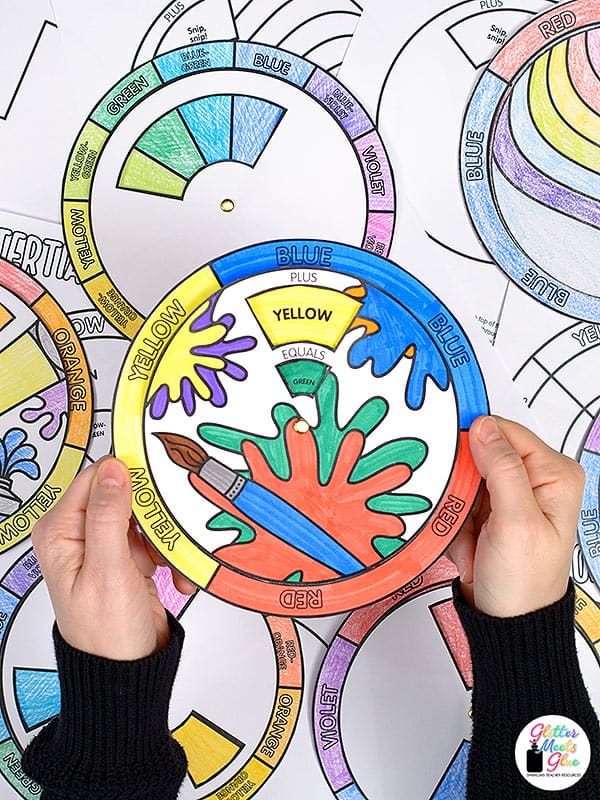
I use the same format color wheel spinner to deliver the color theory portion of the art lesson. As they progress through the grades, it gets more challenging. They build on their past knowledge until they really envelope it.
I find that this approach makes it easier for them to recall past knowledge. “Hey, I remember that!” is heard often in my classroom. Music to my art teacher ears!
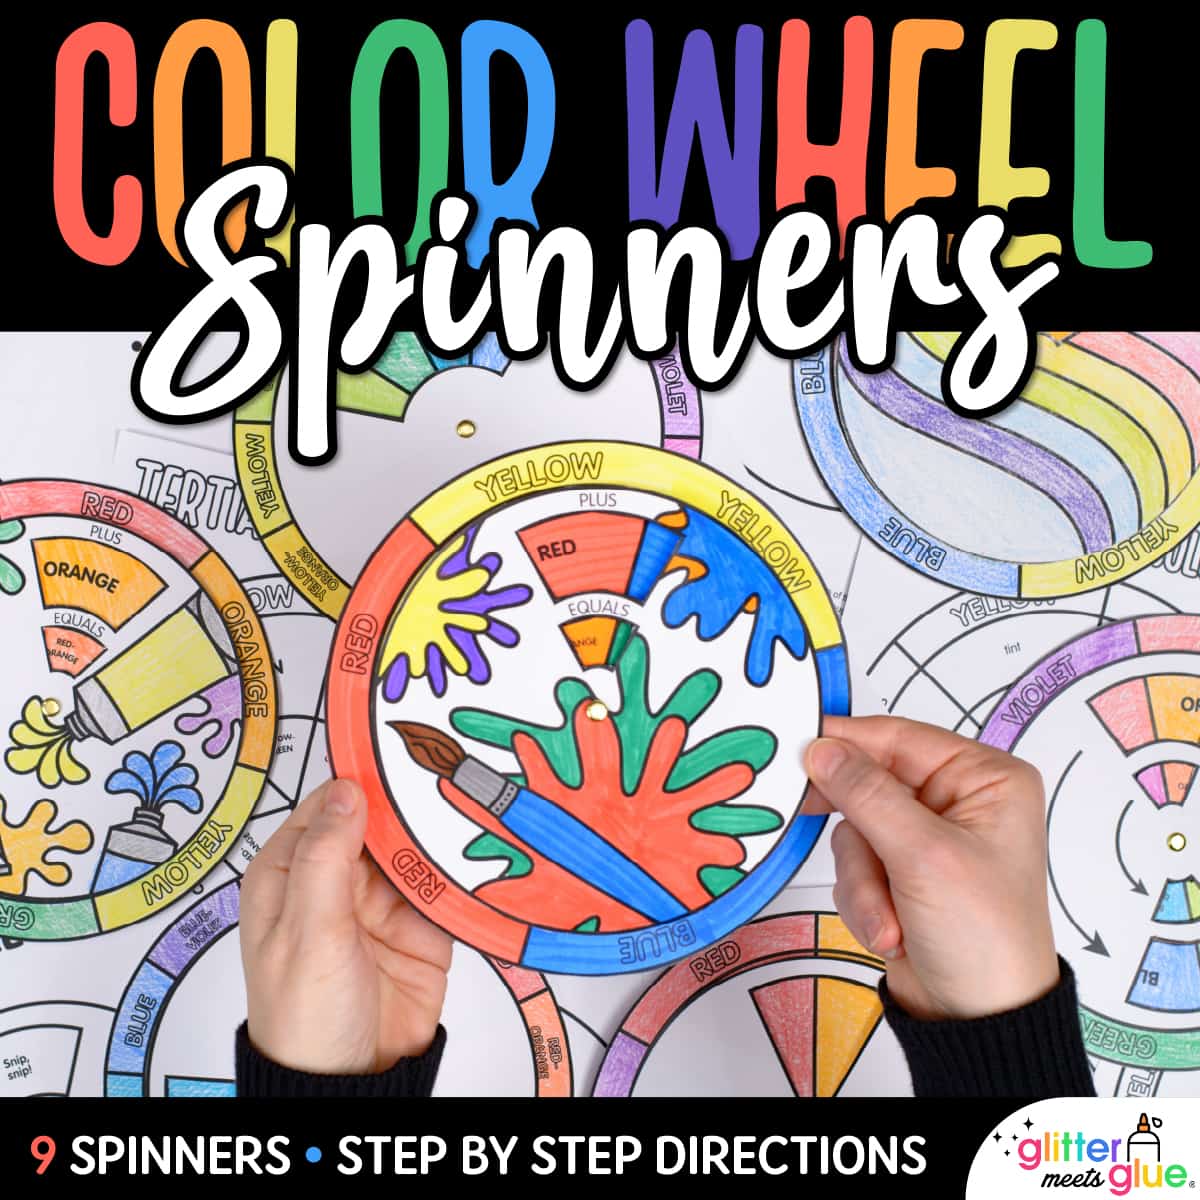
Check out my Color Wheel Spinners if you’re looking to spiral and spin your way into a fun lesson!



Leave a Comment