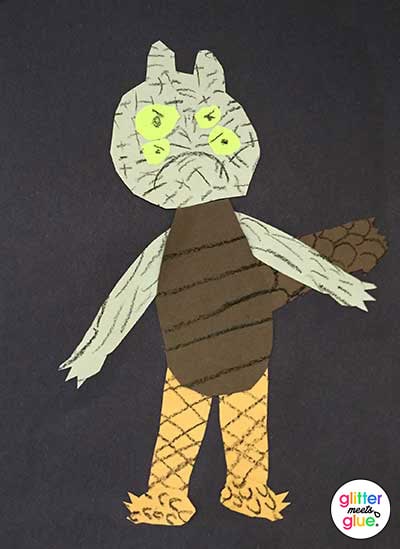
This wild thing art project came to life in the weirdest of ways. I was all set to teach an elementary lesson about African djembe drums when POOF! The whole lesson was gone from my computer.
It was minutes before the kids were to come in and I had nothing, NOTHING to teach them.
Am I the only one who has this kind of thing happen to me?
Because seriously, this isn’t the first time my school’s technology has failed me.
And suddenly this wild thing art project came to life.
So after a moment of panic and denial, I tried to think about what I had intended to teach them. We were going to learn neutral colors. It was the last leg of our color unit.
I pivoted over to my desk and I thought, “What could I use to tie a quick lesson about neutral colors together with?”
And then I saw the book, “Where the Wild Things Are” on my bookshelf.
Knowing that the next unit was going to be texture, I said, “To heck with those drums (sniff, sniff). Let’s make some monnnnnnssssters!”
Because this is what a warhorse in the art room does with lemons. If you’re a seasoned art teacher, you know exactly what I mean.
Sometimes you just have to wing it. Not intentionally, of course. But there will be many “opps!” along the way you need to course correct for.
The Turning Point
I knew I had an amazing audio version of the book read by Maurice Sendak saved on my Pinterest boards to kick start things.
Everything else after that was going to be on a wing and a prayer. And by George, I pulled it off.
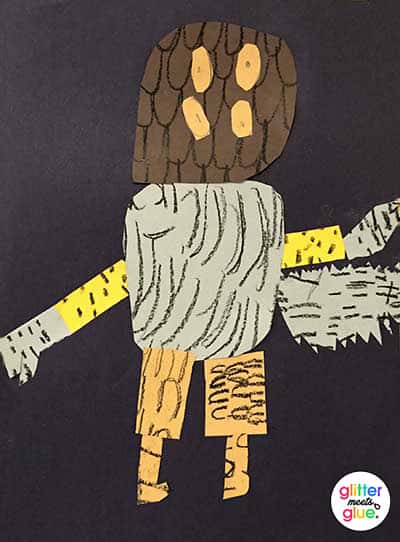
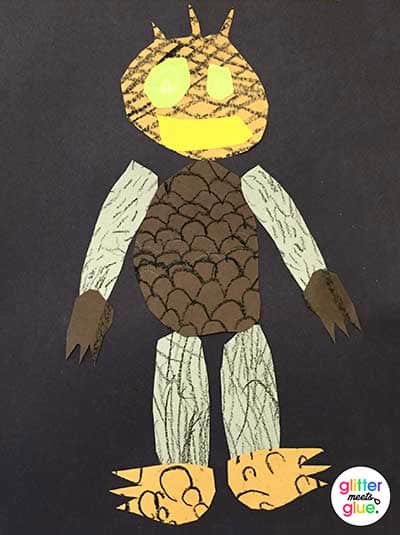
After listening to the “Where the Wild Things Are” story, we drew a sketch of our own idea of what a wild thing would look like using geometric shapes as the guide for our drawings.
While the kids drew, I scrambled to cut tan, dark brown, and gray paper into manageable squares.
We zooooooooomed in on pages from the story using my Elmo/Enoboard and copied visual textures we saw on the creatures and elsewhere in the book. Our next unit was to be on texture, so this worked out perfectly.
We ended class with most of the textures completed. Pfeew!
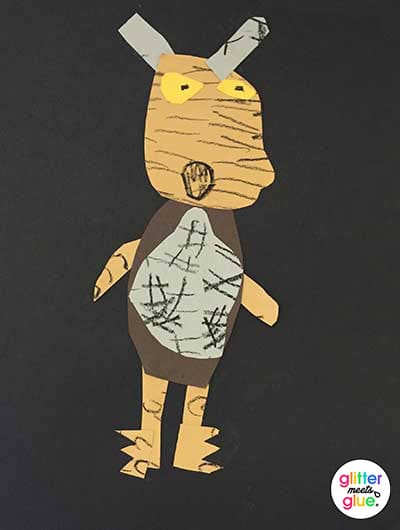
And over the next couple of classes, I showed them how to transfer their design onto those textured papers one piece at a time. If they had drawn a leg, they folded the paper in half and drew one leg to make two.
They used their drawings as a way to judge the size they needed for each piece. Towards the end of the project, I gave them neon green and yellow paper to make additional features like eyes.
They were so awesome, I just had to hang them up on my hallway bulletin board!
You know an art project is awesome when other teachers pop into your room to ask you which grade made them.
I love the lesson so much that the following year I did the lesson again, but this time I let the students pick the colors they wanted.
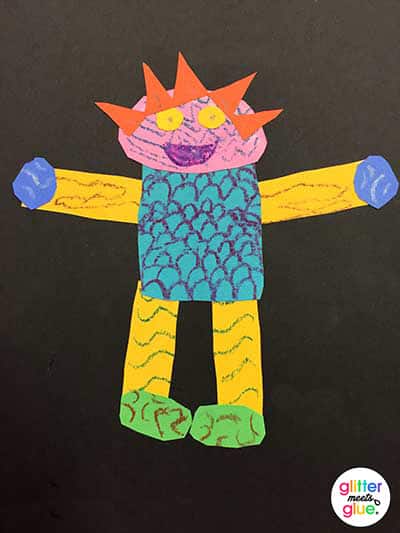
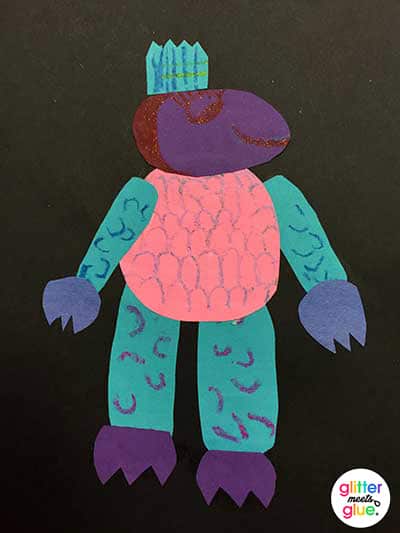
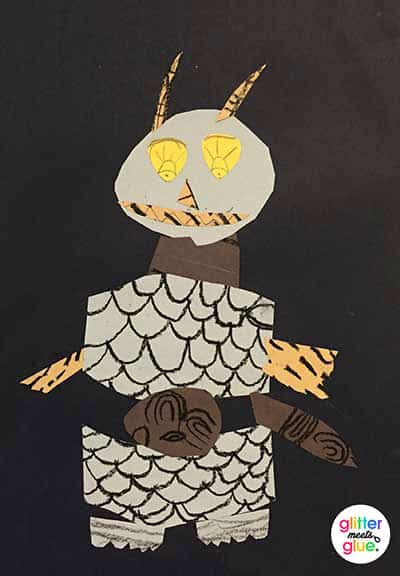
Wild Things
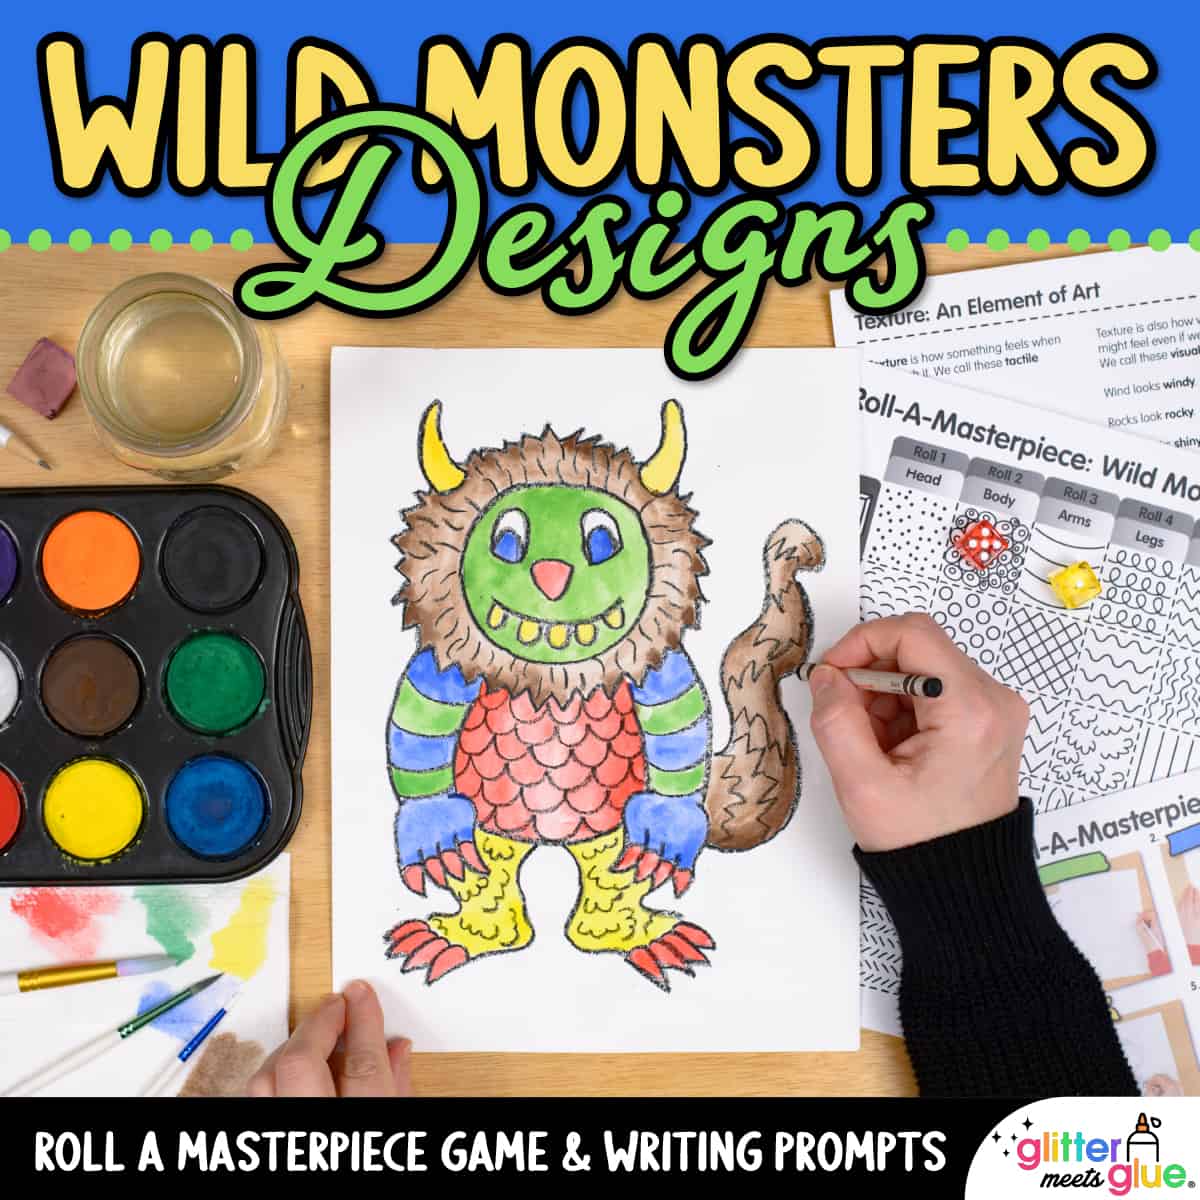
As a result of all my running around, I decided that this lesson could be a lot more fun (and better planned out) if I could turn it into a fun roll-a-dice game. So that’s what I did!
Check out “Wild-Monster Drawing Game” in my shop. I’ve written this as more of a sub plan (because let’s face it art teachers: it can be hard to leave an art sub more than paper and crayons, ya know?).
But you can adapt the game to the lesson I’ve outlined here using neutral colors (or bright!) as a collaged paper project if you intend to teach it yourself.
Had I not been scheduled to teach about neutral colors, I likely would have let them select whatever colors they liked and maybe even included some tactile textures, too. There are so many ways to make this wild thing art lesson into so much more.



Leave a Comment