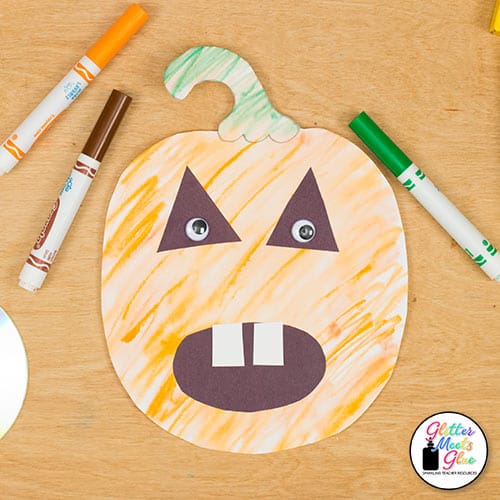
A Cute Pumpkin Art Project for Elementary
Tired of your standby pumpkin art project for Halloween? Here’s a fresh idea that you can do with lower elementary students (and pre-k!) that will wow them.
And it gives lower elementary students a chance to paint with markers.
This is the perfect project to dig up all those old markers hanging around in your marker bins.
This is the kind of project you can pair with a great book or writing sample to get the kids inspired.
I’m a fan of arts integration in the classroom. It’s a great way to get reluctant learners to perform tasks you need them to do like reading and writing.
When it comes to reading activities, I like students to read, then create. But when the lesson is more about a writing sample you want from them, I find it better for students to create first and write second.
Imagine a lesson where you ask students to write about a pumpkin they’ve yet to create. It can be challenging for littles. But if they design it first? They have their own artwork to look at be inspired by. So “Let the kids create!” I say.
Completion Time: 20 – 30 minutes (depending on drying time)
Pumpkin Project Materials
- Pencil
- Heavy White Sulphite Drawing Paper
- Old Broad Tip Markers
- Watercolor Brush
- Googly Eyes
- Black and White Construction Paper
- Glue
- Scissors
Download the Cute Pumpkin Tracer
Click here to download this tracer to your Downloads folder.
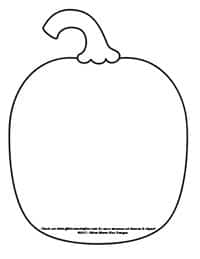
Step By Step: Cute Pumpkin Art Project
Step One:
Trace the pumpkin onto a sheet of heavy drawing paper.
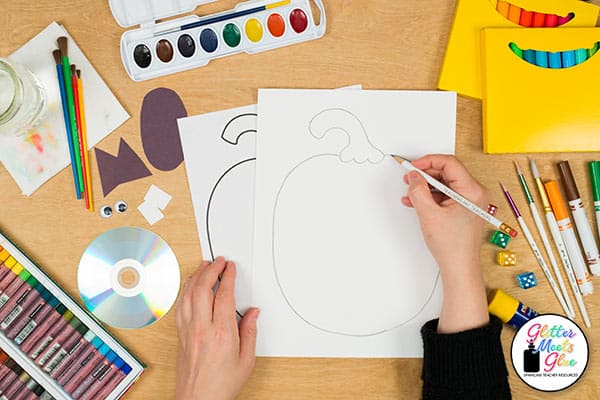
Step Two:
Wet the entire paper. Soak it. Yes, SOAK IT!
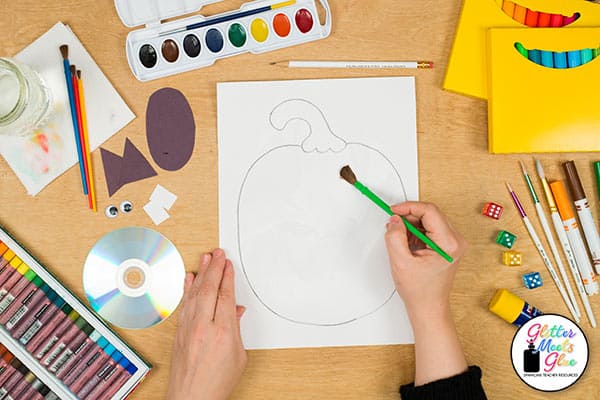
Step Three:
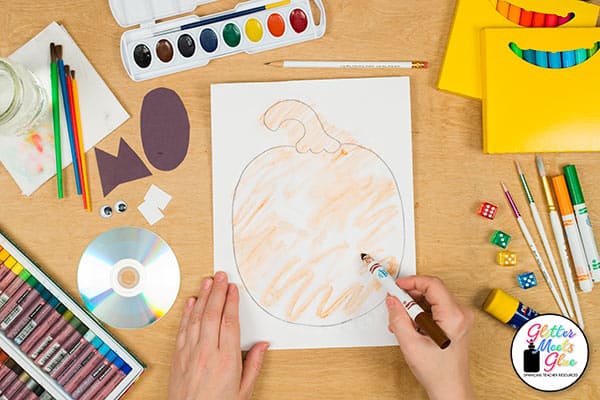
Very quickly, before the water starts to dry, scribble a brown marker across the entire paper. Don’t fill every spot. For the best effect, color in one diagonal direction. And bask in the fun of watching the marker BLEEEEEED onto the page and dance around. Wheeee!
And hashtag real talk: this is the only time in your classroom you want anything bleeding. For real!
Now you’re wondering if this is going to ruin your markers. If you do it repeatedly, yes. However, this is where those old, dead markers are glorious. Save them. They’re GOLD.
Step Four:
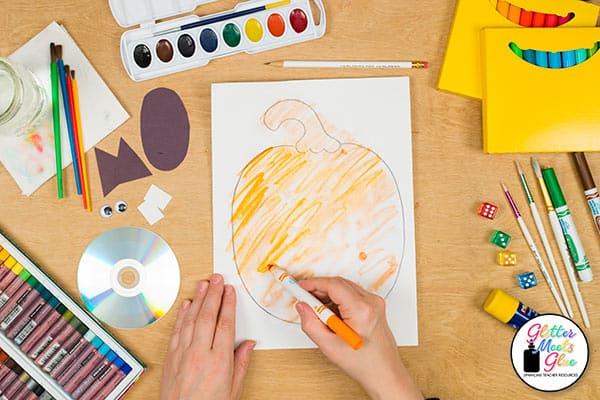
Next, scribble some orange marker on top of the brown in the same direction. Only color the body of the pumpkin.
Step Five:
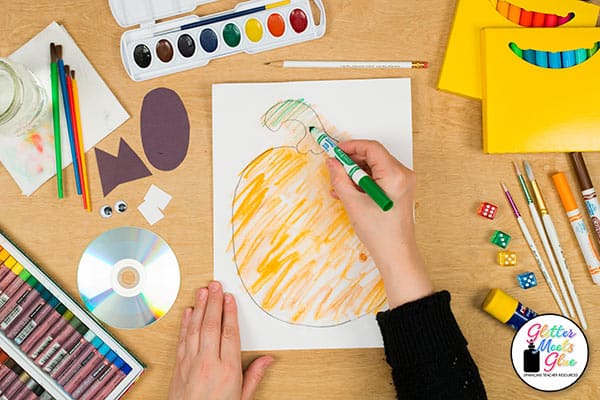
Then scribble some green marker onto the stem.
Step Six:
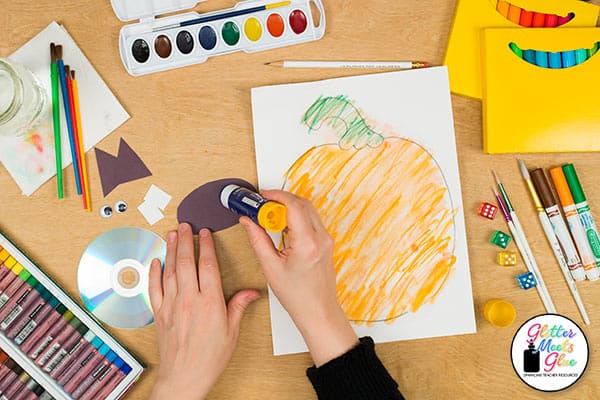
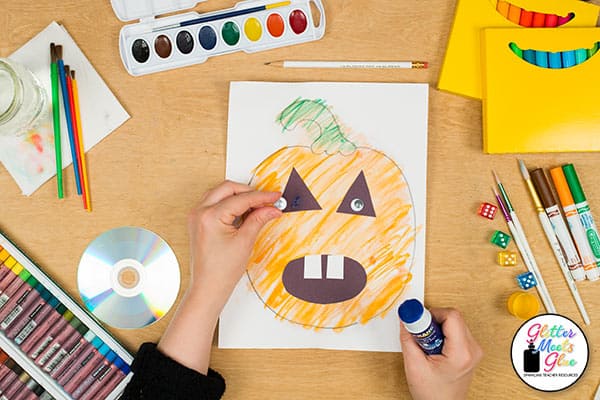
Using black and white construction paper, draw and cut out a face. I like to let students be creative and design their own funny, silly, creepy, or scary face. Then glue the parts on. If you use a lot of glue, it will stick to the damp paper.
Step Seven:
Finish off the pumpkin with a pair of large googly eyes. The larger, the better!
Step Eight:
Cut out your pumpkin art project. I recommend waiting until they dry a little. To speed things along, I’ve hit them with a blow dryer, placed them up against the air conditioner, or rested them on the heater for 30 seconds. Just be mindful to keep an eye them.
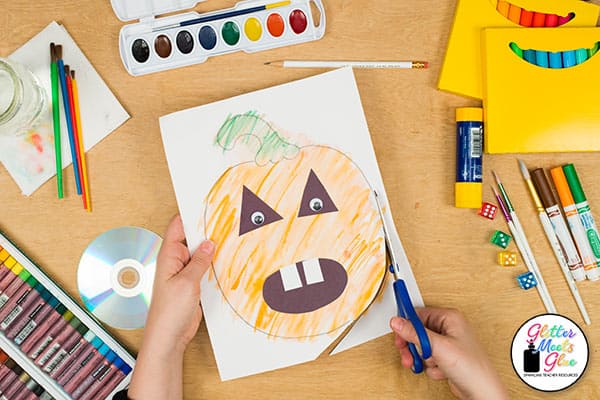
Look how cute that pumpkin is!

Pumpkin Art Project Conclusion
This is my most simple pumpkin art project. I use it on some Halloween days when I know I’m not going to get anything out of those kids because their minds are on sugar. What I love most about it is that it requires very little prep on my part to make it happen. And it uses materials found in any classroom.
I hope you enjoyed this project. Leave me a comment if you tried it out. I’d love to hear how it turned out!



Adorable idea!